A practical guide for parents and their building crew.
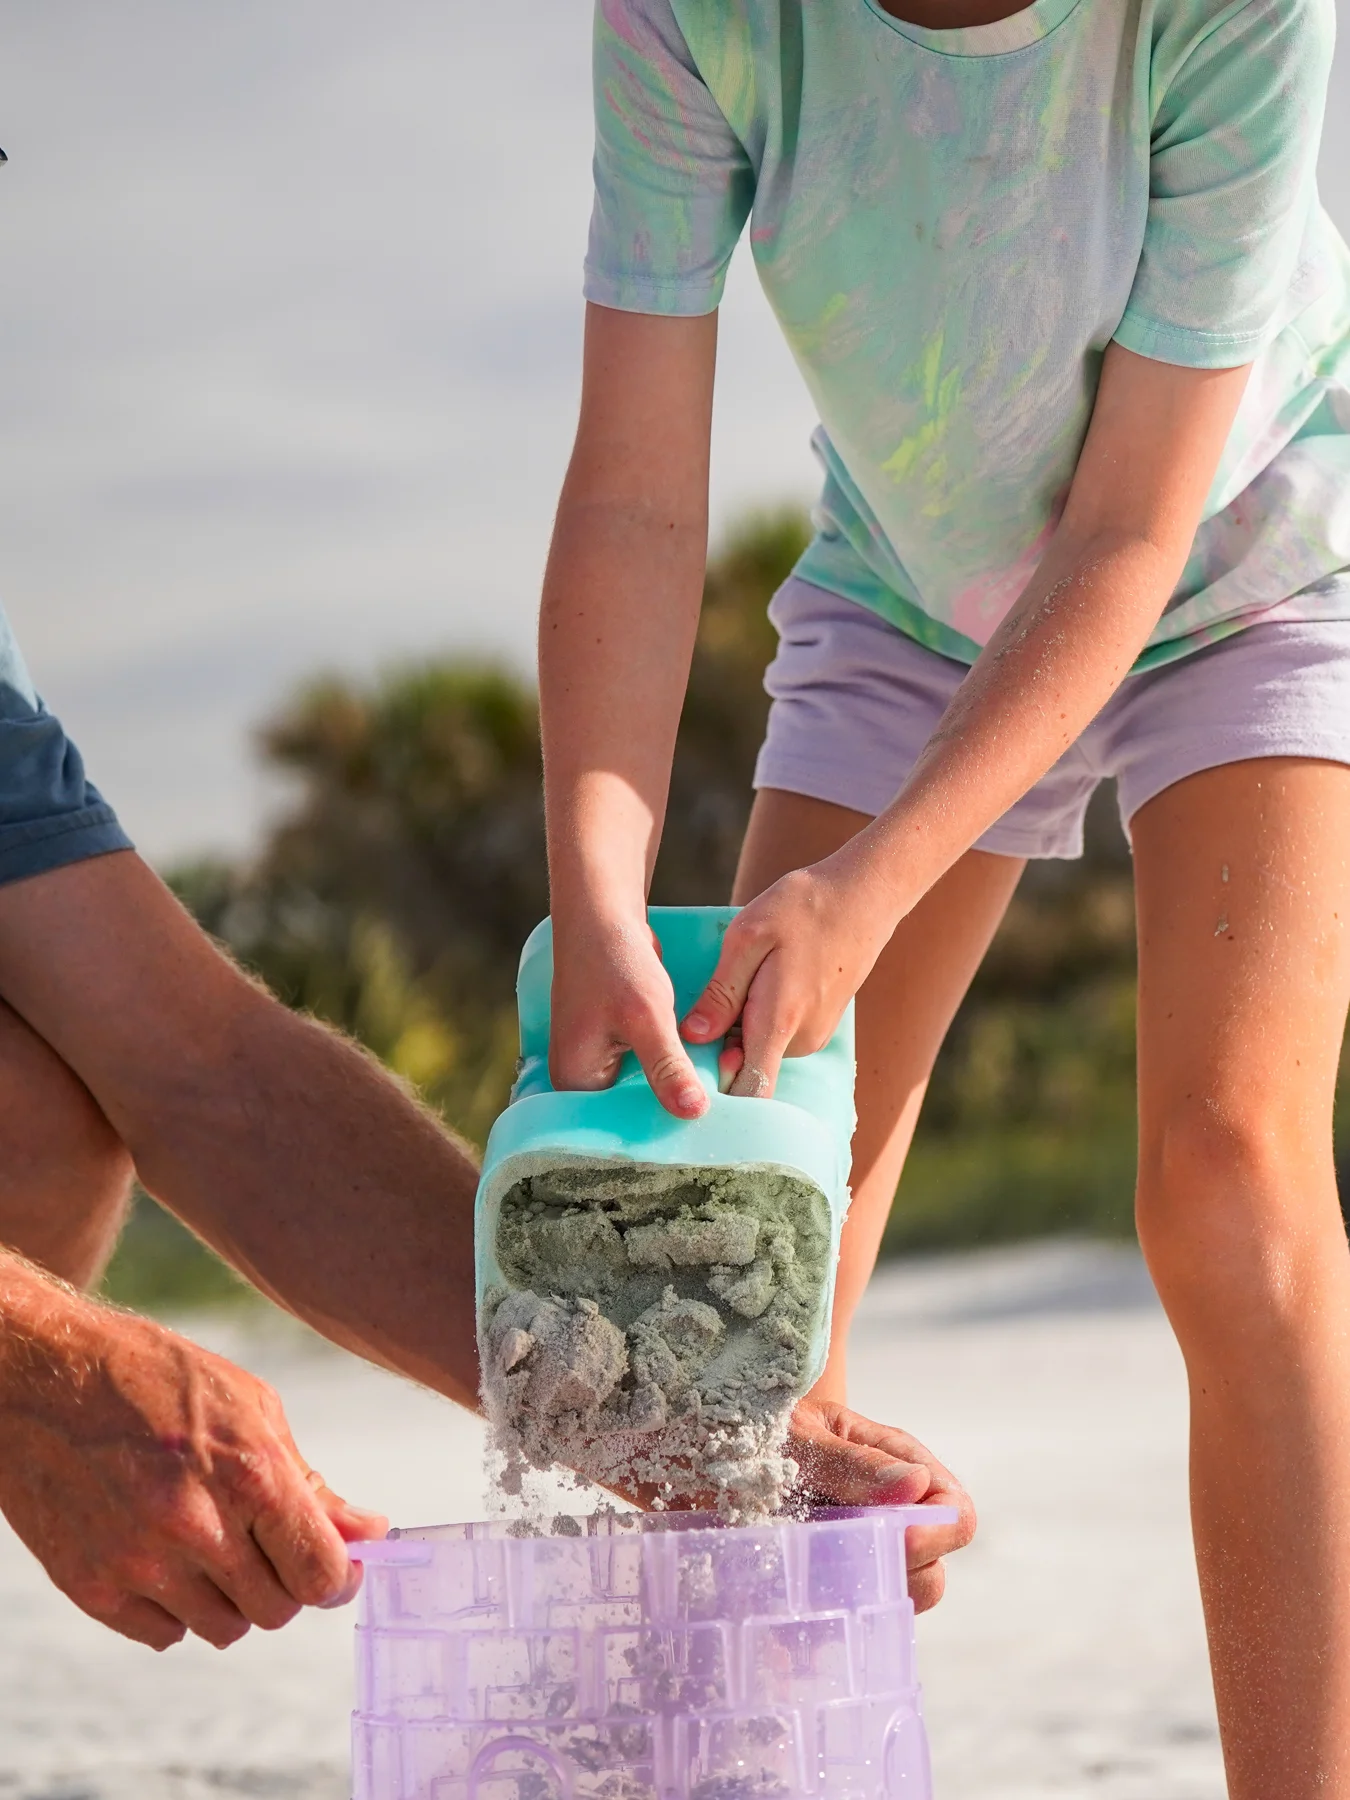
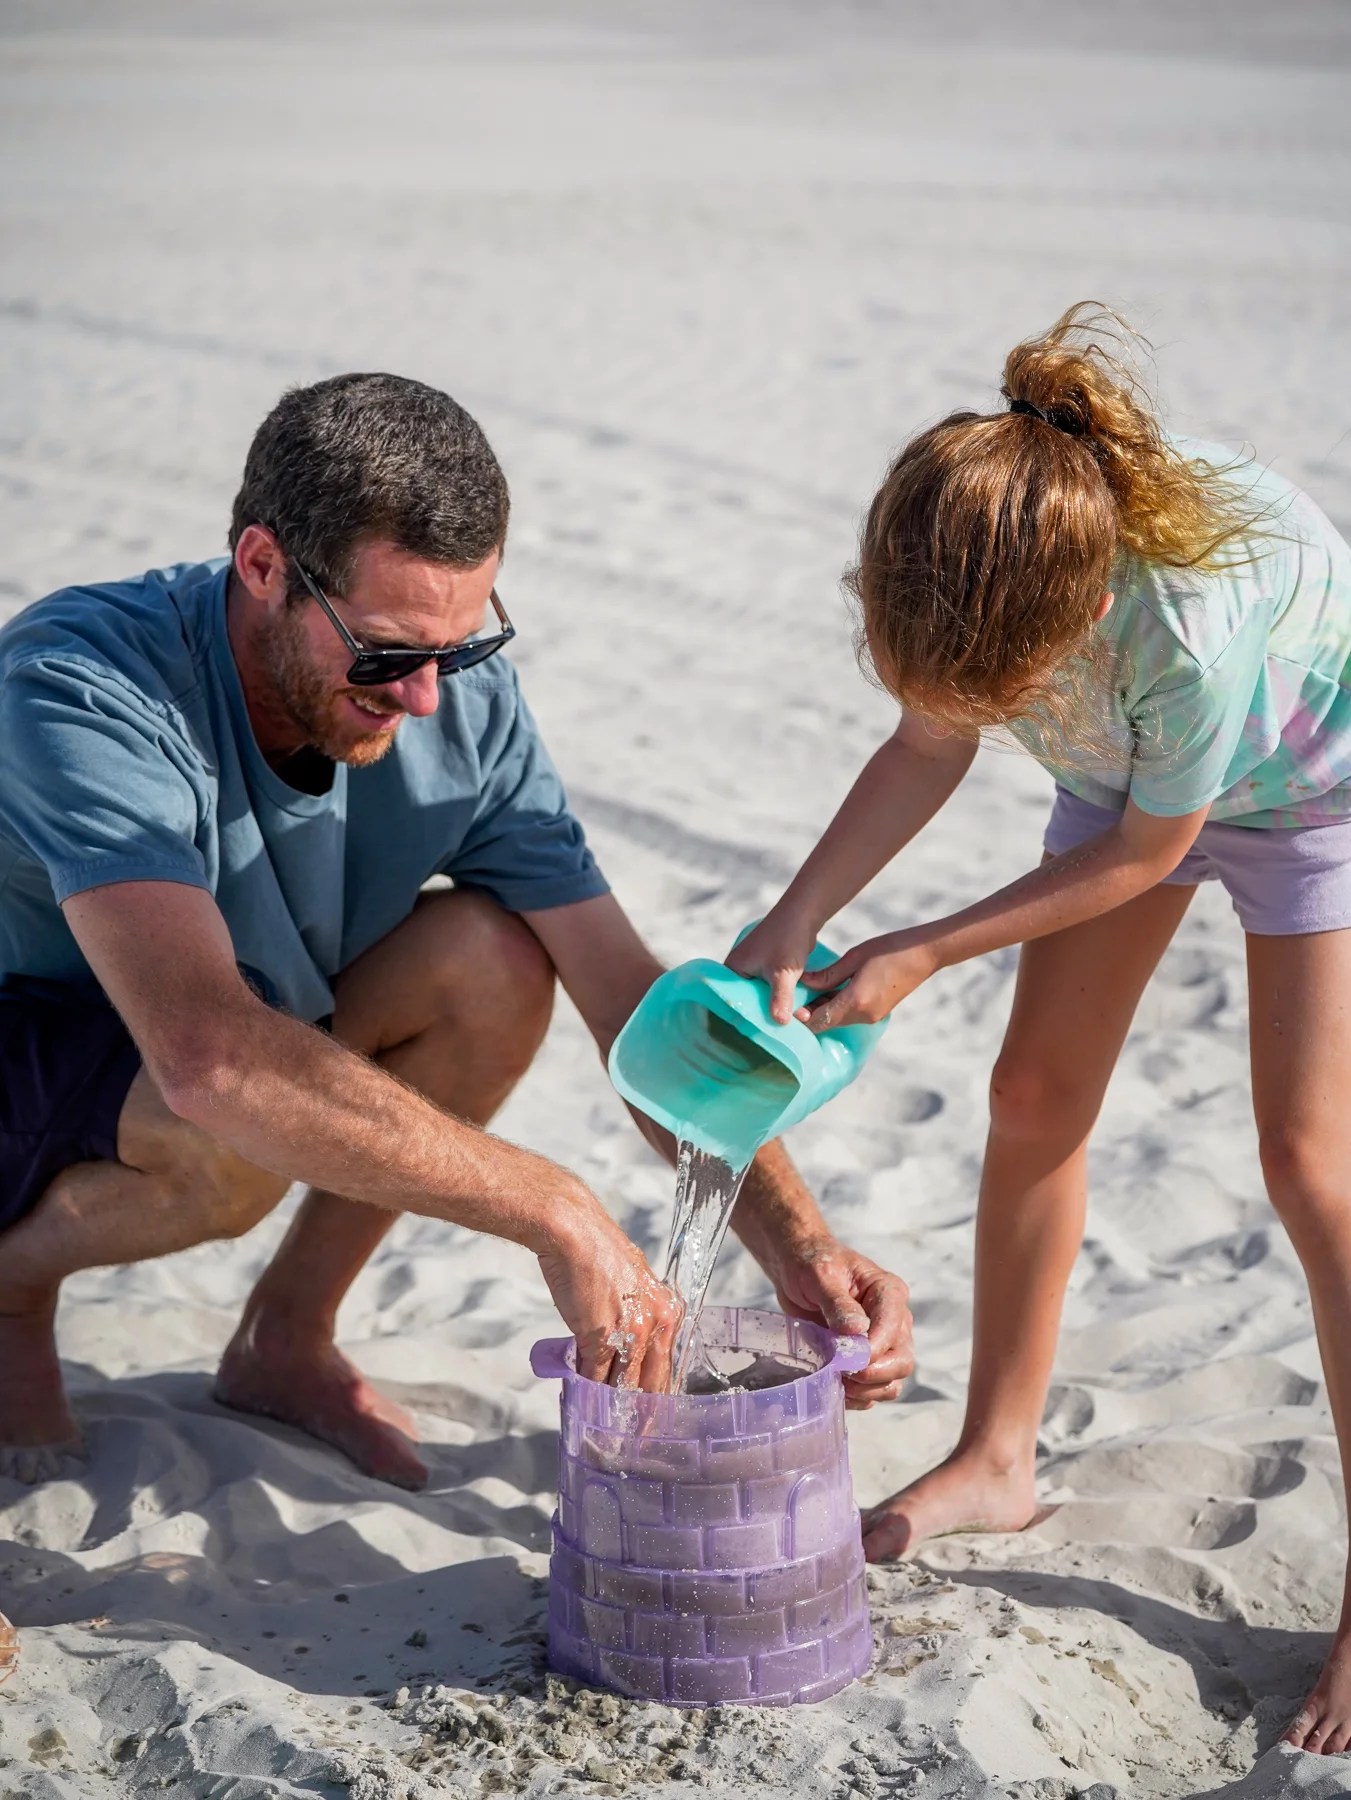
Before choosing a design, find a level patch of clean sand outside the reach of the waves. Build close enough for a grownup to supervise. Use the fill, pour, lift, and sculpt guide for each molded piece, and leave room to lift the mold without bumping the neighboring shapes.
1. The first fort
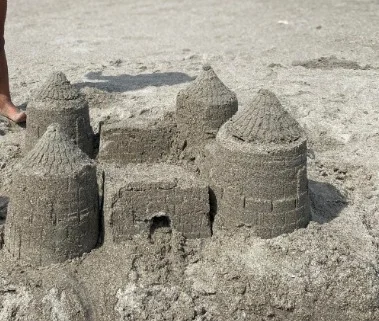
Plan: two towers and one connecting wall. Build a tower at each end of a short line, then add a wall between them. Leave a gap as the entrance instead of trying to cut a large opening through a fragile wall.
Make it yours: carve a few shallow windows, draw a path to the entrance, and give the fort a name. This is a good first project because it is easy to see which piece comes next.
2. The courtyard castle
Plan: four towers around an open square, connected by walls. Mark the corners lightly in the sand before building so the courtyard does not disappear as the walls grow inward.
Make it yours: draw a garden or a small meeting place in the middle. Leave one side open as a gateway. Keep the towers at beach level rather than balancing one on top of another.
3. The seaside village
Plan: three or four separate towers connected by paths. This works well when several children want their own piece of the project. Each builder can decorate a tower while another person plans the roads.
Make it yours: name the buildings: the library, the lookout, the bakery, or a home for a tiny imaginary dragon. Buildings do not have to match to belong in the same village.
4. The winding wall
Plan: a line of short walls that changes direction, with a tower at the end. Think of it as a route across your patch of sand. Finish one section before deciding where the next section should go.
Make it yours: use the shaping tool to draw a path beside the wall. Add a gate, a bend, or a small courtyard. If a section breaks, it can become an intentional entrance.
5. The story castle
Plan: choose one simple story before choosing the layout. Is this a lighthouse fort, a royal garden, or a castle waiting for a visitor? Use two or three molded pieces and let the story decide where the paths and entrances belong.
Make it yours: ask each builder to add one detail and explain it. A shallow line can be a river. A tiny doorway can lead to an imaginary secret room. You do not need extra accessories for every idea.
Make the build a team activity.
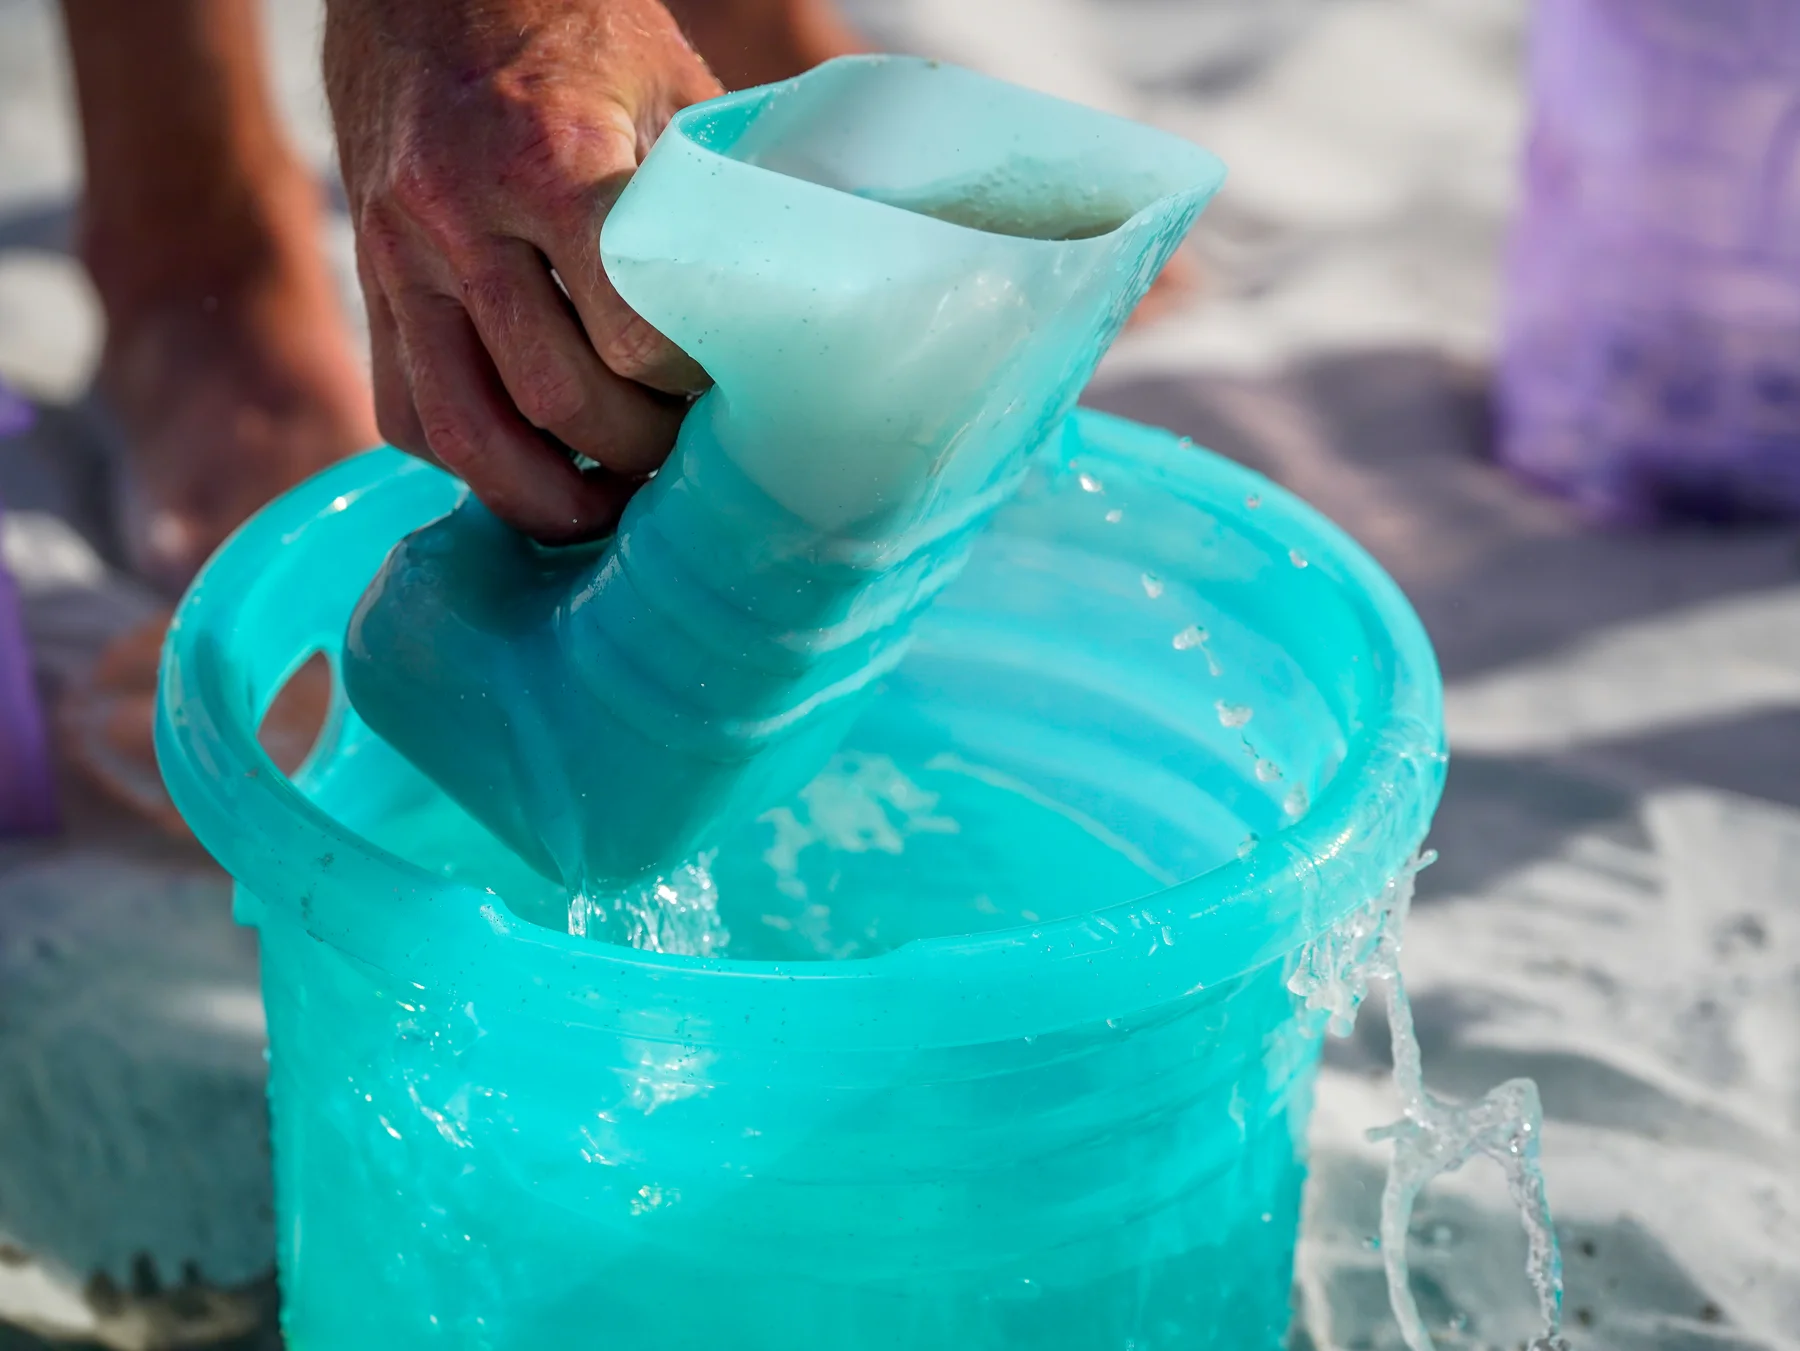
Try three jobs: sand loader, water helper, and designer. Swap after each tower. Grownups can help with steady lifting while children choose the layout and details. Keep the goal on experimenting and making something together rather than building the tallest possible structure.
Can your family build a fort with two towers, one entrance, and three different window shapes? Take a photo, then try a completely different layout next time.
Leave the beach ready for the next family.
Keep wildlife, living shells, and plants out of your decorations. Follow local beach rules, avoid deep holes, and level any shallow digging before leaving. Gather every tool, rinse off loose sand, and pack the pieces into the bucket and mesh bag.
Designed for family play. Marketed for ages 4–12; product labeled ages 3 and up. Small parts: not for children under 3. Adult supervision recommended.